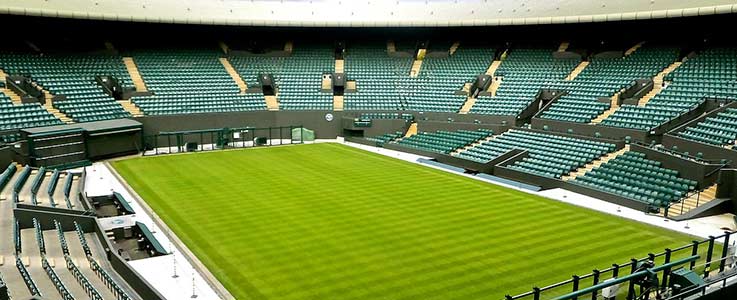
Greenkeepers at Wimbledon work tirelessly all year round to ensure that the courts are looking 100% perfect for when the games begin. If like us, you get envious seeing the perfect, green, stripy courts every time the competition begins, then you may want to try following these steps.
Remember, getting the perfect lawn takes time and patience and can’t be done in a day!
Step 1 – Removing thatch
Over time your lawn will build up a layer of decomposing roots and stems called thatch. A layer of thatch on your lawn means that air, water and nutrients can’t penetrate down to the roots and it may feel spongy underfoot. If you don’t remove the thatch before applying fertiliser, it will end up being wasted. Use a spring-tine rake to remove thatch by applying moderate pressure and pulling the rake towards you. This may take some time to do but trust us, it’s worth it!
Step 2 – Aeration
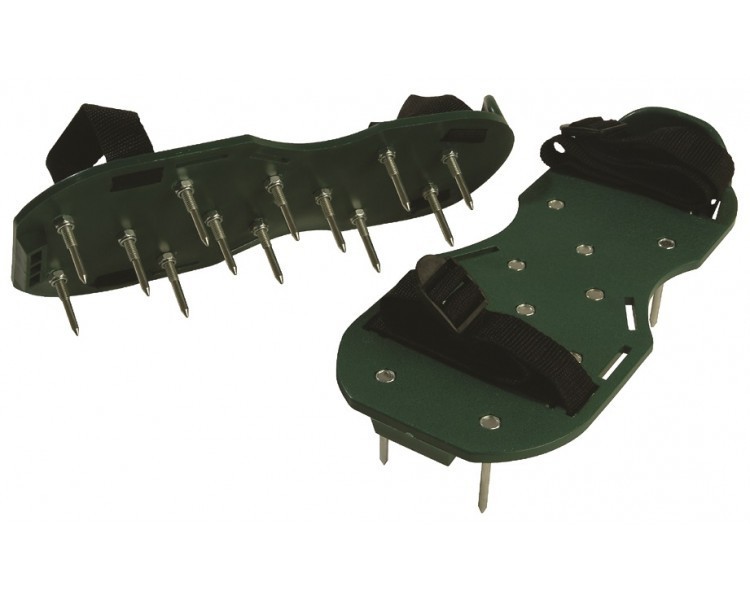
Over time, the soil under your grass can become compacted and may benefit from being ‘aerated’. Aerating helps your lawn to breathe and helps to absorb vital nutrients from your chosen lawn food. The quickest way to aerate your lawn is by using ‘lawn spike shoes’ available in store for £12.99. Simply walk across your lawn in rows 20cm apart.

Step 3 – Applying Fertiliser
The next step is to apply the fertiliser. For best results we recommend using a slow-release dedicated lawn food with no added weed killers (These can be treated separately). Our favourite is ‘Evergreen Premium – Plus Thick & Green Lawn Food’ by Miracle-Gro (Formerly known as Scotts Lawnbuilder) As the name suggests, this is a ‘premium’ lawn food, as used by professionals. If you’re applying the fertiliser by hand, make sure you wear a pair of gloves! You will need to use 20g per square meter (20g is approximately 1 handful). For even better results use a spreader (calibration rates can be found on the packaging). If it doesn’t rain within 24hrs of application, it is recommended that you ‘water it in’ with a hosepipe. It is important to remember that you shouldn’t mow your grass for 4 days before and after application.
Within 7 days, your grass should appear thicker and greener and the slow release fertiliser will continue feeding for 3 months!

Evergreen Premium Plus Thick and Green Lawn food – £10.99 for 100m2
Step 4 – Treating Weeds
If weeds are present after treatment, use a selective Weedkiller such as ‘Weedol Lawn’ to keep them at bay. These weed killers are designed to only target weeds and not the grass itself.
DO NOT USE A REGULAR WEEDKILLER THAT CONTAINS GLYPHOSATE AS THIS WILL KILL YOUR GRASS!
We recommend: Weedol Lawn 1L RTU £5.99
Step 4 – Getting those Wimbledon stripes!
Four days after application of fertiliser, it is safe to mow the lawn again. Remember never cut more than a third off the tips of the grass (Putting your mower on its lowest setting on long grass could potentially damage it)
To achieve the stripes, your mower will need to be equipped with a rear roller. Stripes are added to the lawn by flattening and bending the grass as you cut it. This in turn, changes the angle at which the light reflects off the grass blade, giving the impression that the grass is a different colour.
For gardens where it is difficult to turn the lawn mower at either end of the garden, cut around the perimeter first. When you get to the end of the lawn, turn your lawn mower around and come back in the opposite direction.
Step 5 – Watering
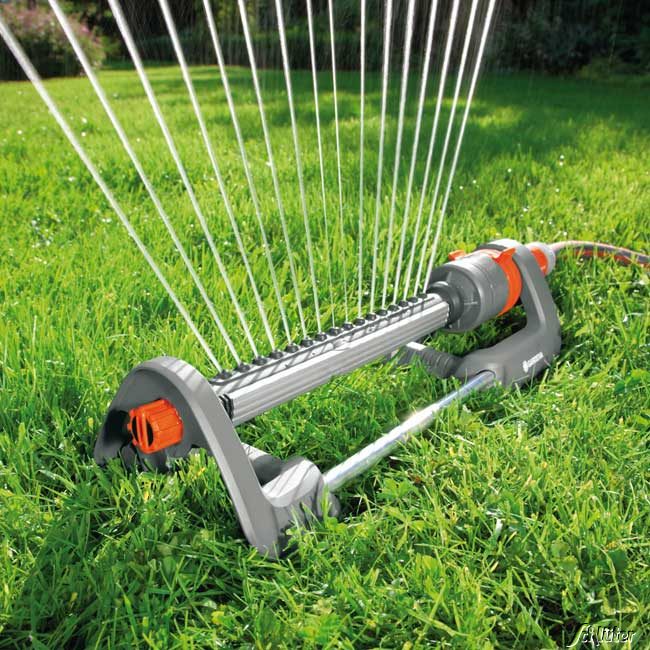
Lawns need water to survive just like any other plant. (Grass is a plant after all). You must avoid having wet grass at night as this can promote disease. Therefore, water before the heat of the day so that the lawn has time to dry before nightfall. It’s worth investing in a sprinkler as this will make life much easier.
Its difficult to determine how often to water your lawn as there are many factors that will affect this. Lawns generally prefer a good soaking rather than frequent, light watering. Normally grass will need watering between once a week and once a month depending on conditions.
Some signs to look out for include;

Sit back, enjoy and enjoy the tennis!


