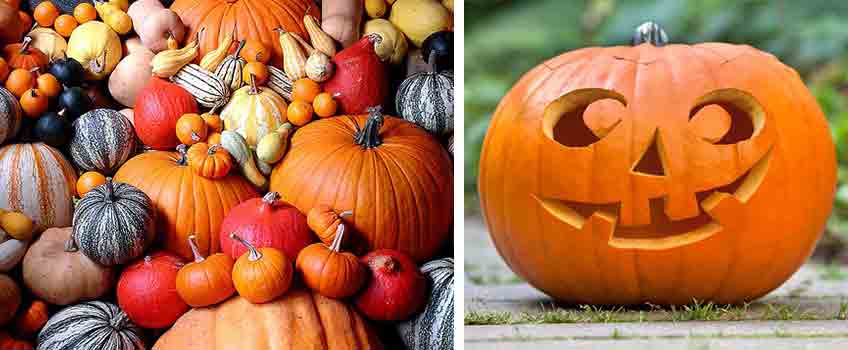
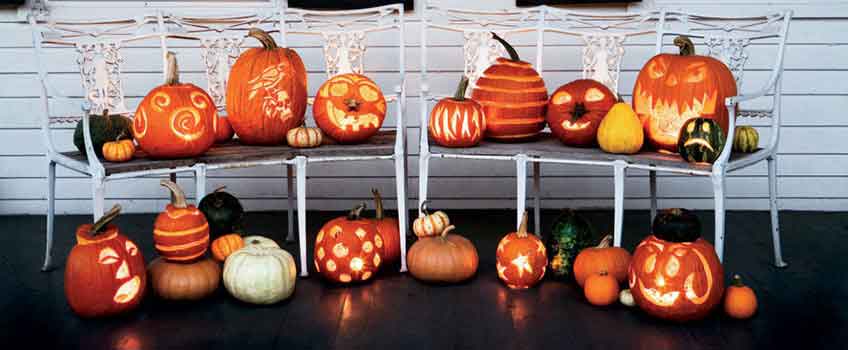
When buying a pumpkin it is a good idea to choose a large round one without too many blemishes to make it easier to carve. Make sure it is as fresh as possible, as older pumpkins will not last as long. Please supervise small children when using sharp knives.


Top Tips for Pumpkin Carving
Cut off the top with a sharp serrated knife. Make sure that the crown is wide enough, so you can scrape out the insides easily.
Use a large spoon to scoop out the seeds, fibres and some of the flesh on the walls so they are about an inch or so thick. This makes carving easier and more light will shine through the surface.
With a marker pen, draw your design onto the pumpkin. If you want your lantern to look really professional, draw a paper template and then tape it onto the pumpkin. You can also download templates online. Then use a sharp pointed tool, like a small screwdriver or nail, to poke holes around the design so the paper can be removed.
Use a sharp, serrated knife to cut out your design, starting at the centre and working outwards. Sawing in short, back and forth movements is easier to control than slicing.
Rub some Vaseline or a little diluted lemon juice on exposed parts of the pumpkin to stop the areas turning brown.
Finally, it’s time for lights. If you’re using a candle, it’s best to put it in a small glass. Fairy lights and battery operated candles also work well.


